Hey guys! I’m Olivia from DIY Mother! I’m so thrilled that Mickey is letting me share one of my many DIY projects with you all today! It’s my version of a DIY rug tutorial I saw a couple of years back. I forget where I saw it, but it involved taking 6-inch scraps of fabric and tying, like, 1000 knots around a rubber rug gripper. While I consider myself to be a patient DIY’r, I’m not that patient. I have a toddler and a 6-month-old, for pete’s sake.
I wanted to come up with an easier, quicker way to achieve a similar look and I think I have accomplished that. It involved some chunky braids, and about 20 minutes of knot-tying. All in all, it only took about an hour total and I now have a comfy mat for my girls’ bathroom.
Keep reading for my tutorial, and let me know what you think! I’m also interested to know how many of you have done a project similar to this. Did you also develop some temporary carpal tunnel syndrome? I’m surprised I can even type.
DIY Rug Tutorial
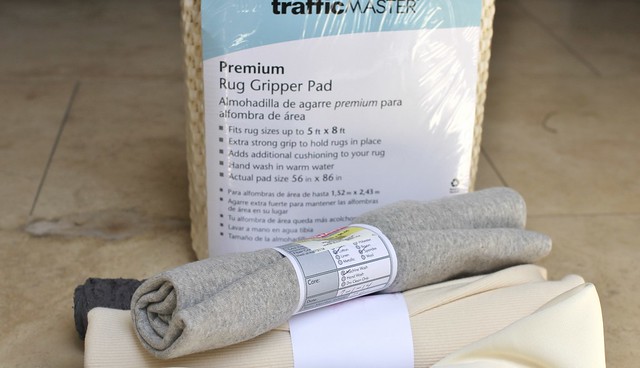
Materials I used:
.
~ 5 yards of fabric in different colors (I used every last scrap of it)
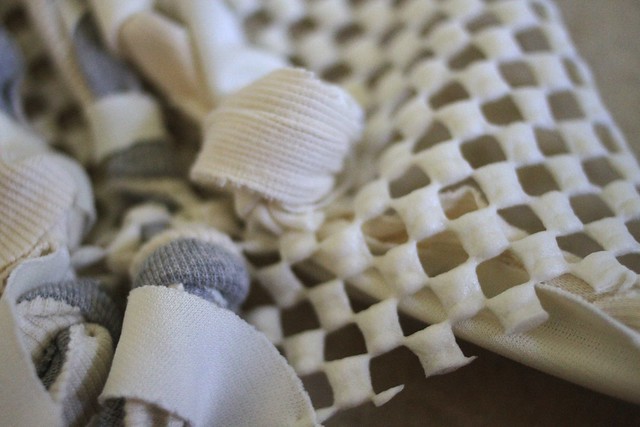
~ Rug gripper (I got 5×8 for $20, but I’m sure there are cheaper ones)
~ Scissors
~ Braiding skills
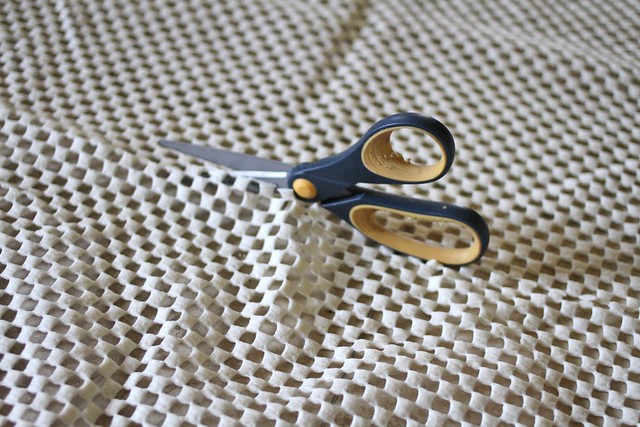
1. First, cut the rug mat to size. I wanted a small size for my girls to stand on while they’re brushing their teeth, so it ended up being about 3×5.
2. Next, cut your long strips of fabric to match the length of the rug. It will be MUCH easier if you pre-cut all of the fabric instead of cutting new pieces each time you want to make a braid. Also, cut the strips at different widths; it’ll make for a chunkier looking rug.
.
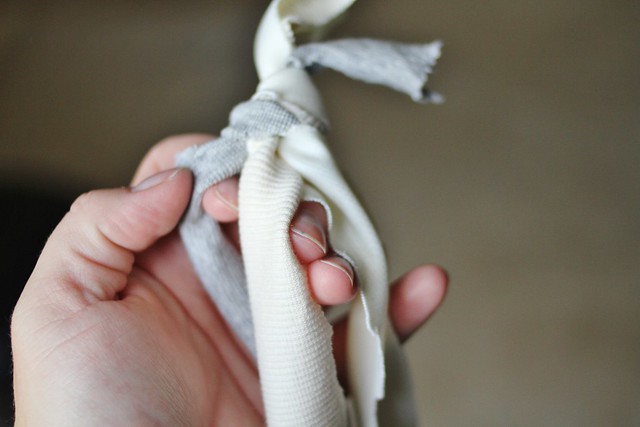
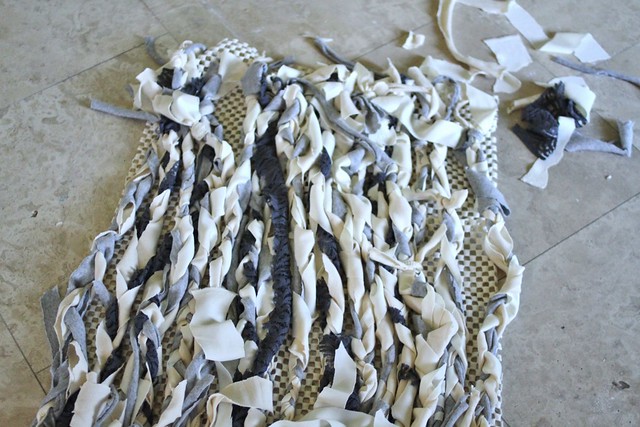
Start braiding! Don’t worry about how perfect the braid is, or whether the braids are all the same length. This is basically just filler for the rug.
3. When you’re done braiding, lay them all down on the mat and tie them down on each end. I pulled the hanging fabric under one open square, and then pulled it back up through the open square above it to tie it in a knot.
.
As you can see, there’s a little pull to the gripper mat, but don’t worry. You’ll trim off the excess at the end and tie them off with more fabric.
4. When your braids are tied down, fill in the gaps. You should be able to see pieces of the gripper mat peeking out from underneath the braids. I gathered multiple braids and tied them together with smaller pieces of fabric and continued to do this around the entire rug.
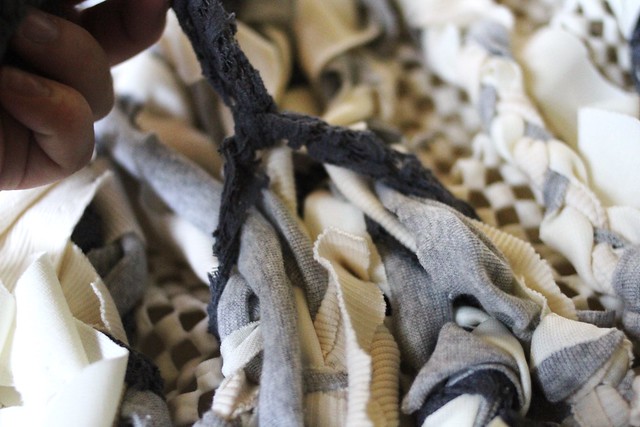
Once you’ve filled up the open spaces to your heart’s desire, you’re finished!
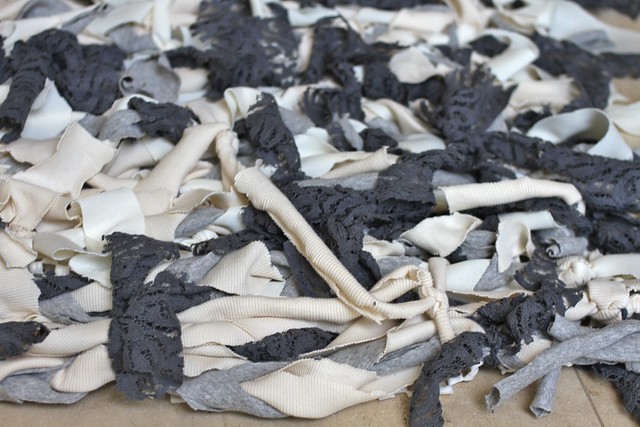
Mine could have probably been fuller, but I ran out of fabric. I suggest buying at least 5-6 yards if you plan to do a 3×5 rug.

Thanks so much, Olivia! It looks wonderful. 🙂
Be sure to check out the rest of Olivia’s awesome DIY projects at DIY Mother!
What a neat idea! My mom is looking for a new project to start and this would be perfect for her. Thanks for the great instructions.
Thank you for sharing this cool craft with us.
This is awesome!! I love this idea. I could customize and make the perfect rug for every room! Thanks for sharing this!!
This would be great in my daughters room. I think I can do it on our next snow day.
I wish I had the patience for this. It’s such a great and easy idea!!!!
I wonder how similar these are to the ones my grandma made from fabric scraps and bread bags. Does anybody remember those?
This is a cool craft I think my 7 year old would enjoy doing with me.
Love this idea, I’m always having a hard time finding rugs that match the themes of my room but this way I could get any color I wanted